If you don't have any 3D parts, DMSS can create them for you (ask for details).
(all we need is your profile!)
Note:
This is a sample of DMSS creating a part (using 3DPartMachine), creating the Catalog drawing, creating 7 views (up to 9 optional) of the part, then creating a .lsp & a .dcl program to control all the parts created, and providing a .mns menu to quickly find your programs and parts.
(Start of 3DPartMachine)
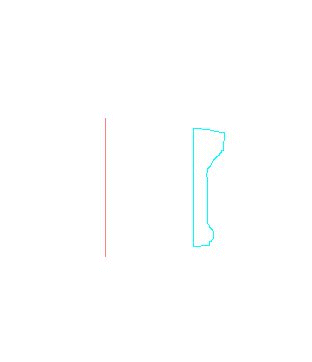
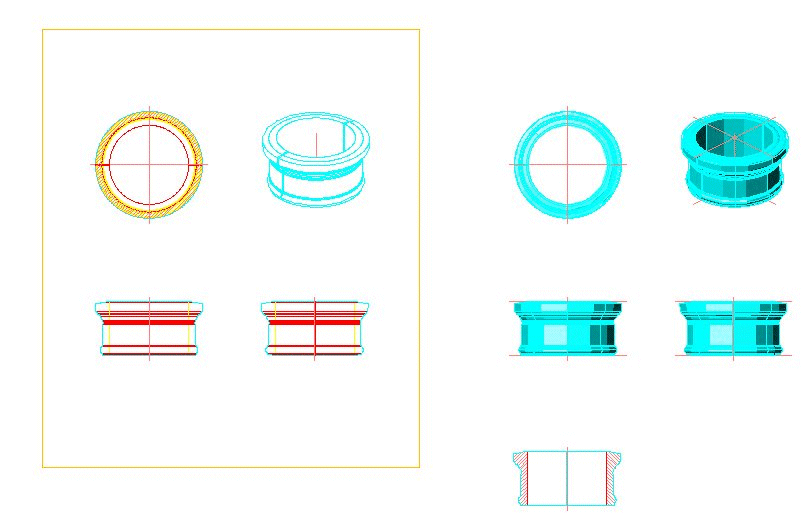
1) Staring with these two objects (a center-line & a shape profile)
(see drawing below).
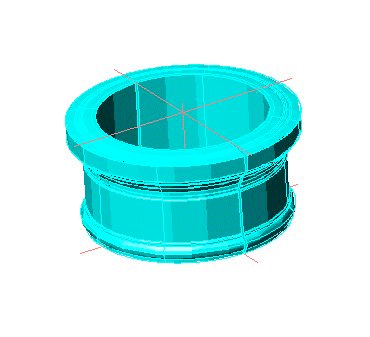
DansMark Software Solutions creates a 3D object from the original 2 objects (see drawing below).
Then, cuts a 1/4" out of the object, creating 2 half pieces, that can be joined together (using cement morter), around a post.
Now the "magic" starts to happen.
(Start of CatalogMaster)
Note:
The CatalogMaster process can use any 3D part to create the 2D drawings & blocks with!
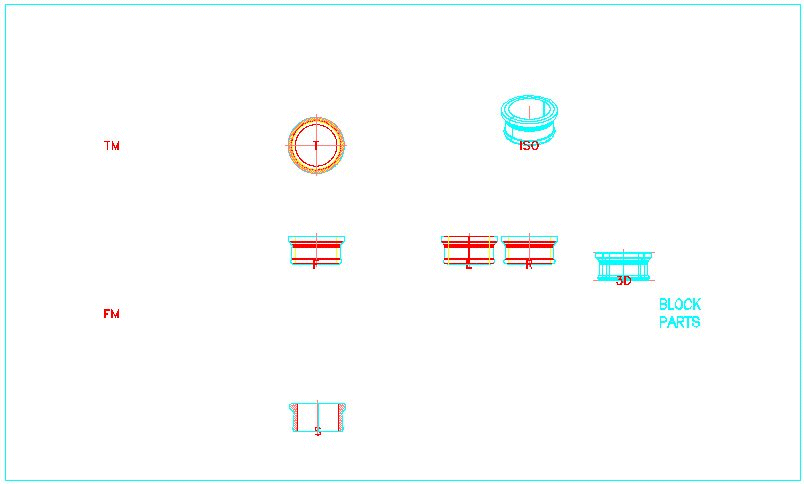
Next, the object is copied & rotated to the proper planes (see below).
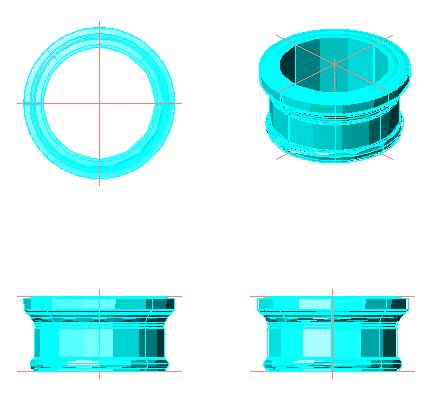
The 3D objects are converted to 2D drawings (see below).
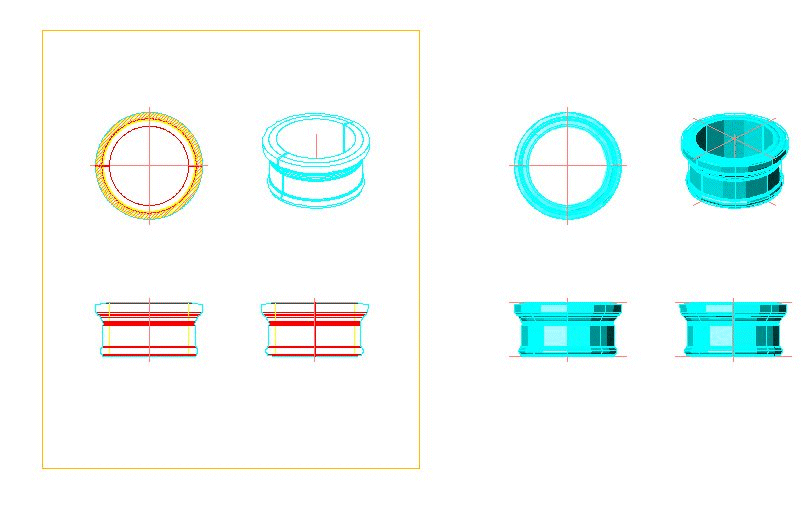
Then a section is created from the 2D side-view drawing (see below).
And a left view is created from the right-view (and differences between left/right-views are corrected).
Optional: Now, the drawings are copied over to the "Block Parts" border (using CatalogPartMaster), where they are "w-blocked" to their respective directories.
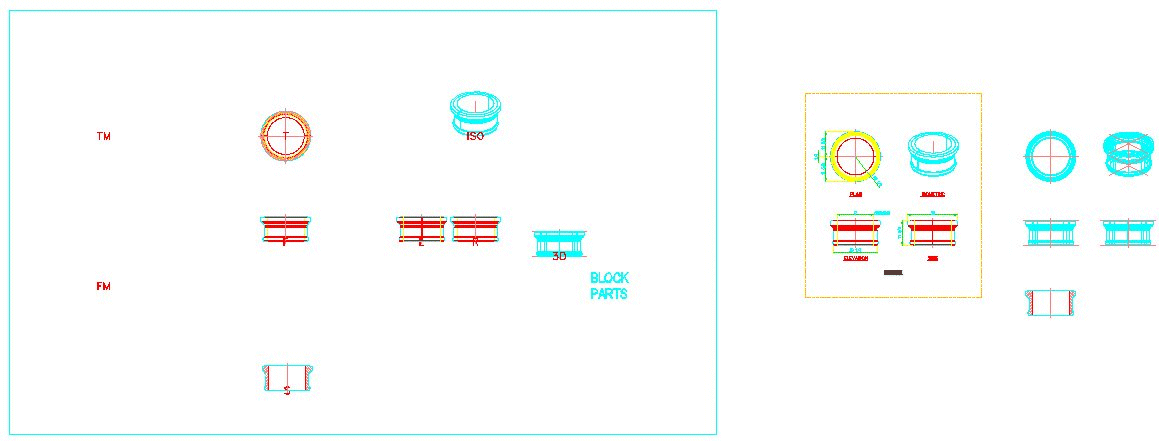
The completed drawing looks like the drawing below (in ModelSpace).
(The PaperSpace "Catalog Drawing", is seen on the next page.)
This is a better way... The DansMark Way!